Adding mods will significantly enhance and increase interest in the game.
In this tutorial, we’ll show you how to add mods to your ARK: SE server.
This tutorial will walk you through the two methods for installing mods on our platform:
AUTOMATED INSTALLATION
Before we begin, you need to choose a specific mod. You can do this by going to the STEAM workshop, where you can pick a mod you'd like to add to your ARK: SE server. (If you choose manual installation, you’ll need to subscribe to the mod and launch the game so the files can be generated.)
As an example in this tutorial, we’ll use the "Ultra Stack" mod (https://steamcommunity.com/sharedfiles/filedetails/?id=761535755) — one of the most commonly used mods in ARK: SE servers.
HOW TO ADD MODS (AUTOMATED METHOD)?
Step 1) Go to the Console, click on your server, and stop it by pressing the "STOP" button.
Once the server is stopped, go to "SETTINGS".

Step 2) On the settings page, you’ll find a "MODS" field in the bottom-right corner.
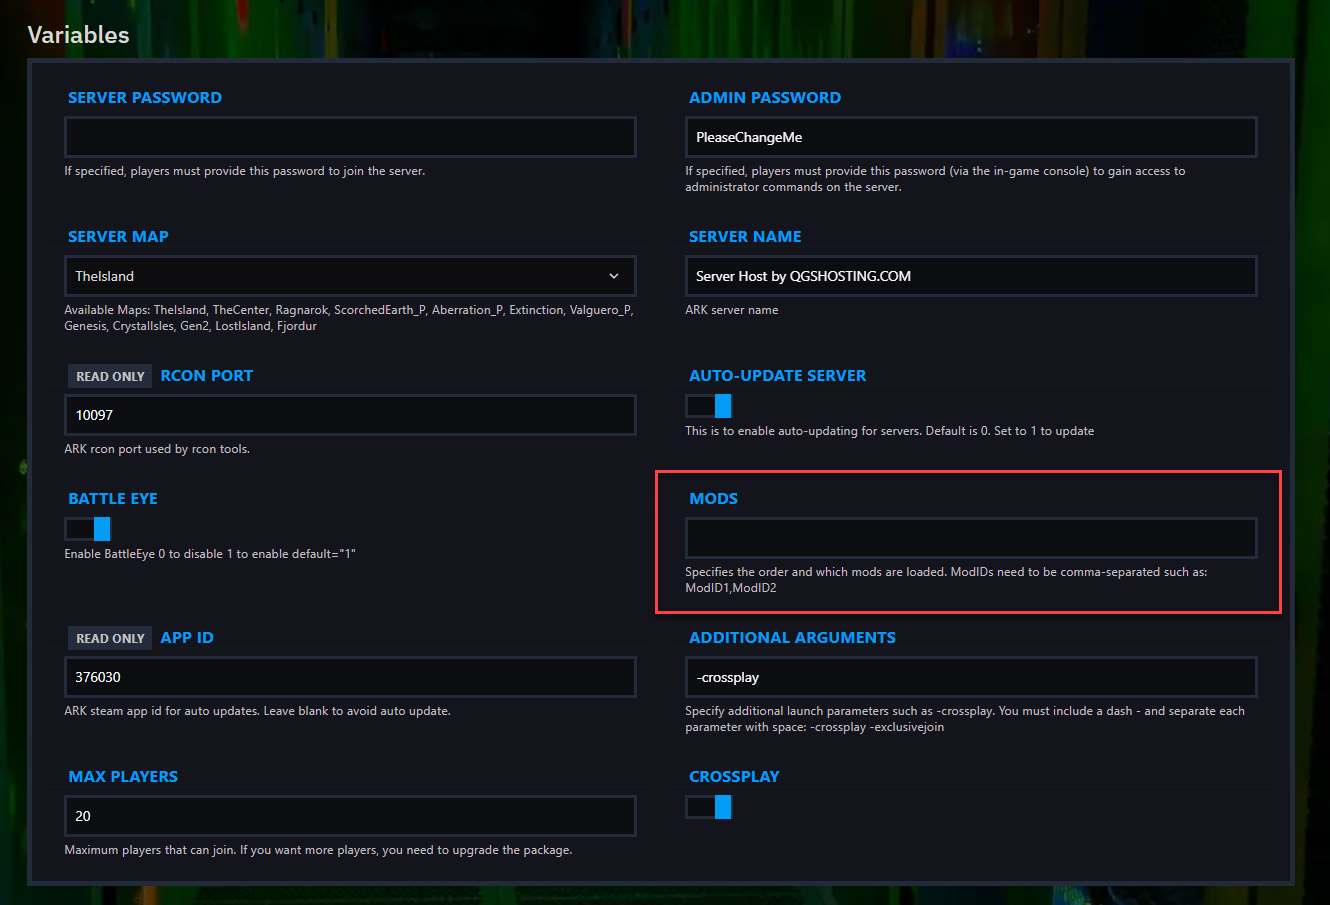
Paste the mod’s ID there.
Note: The random numbers at the end of the mod’s URL (e.g., /?id=761535755) represent your mod’s ID. You’ll need this number to add the mod in the "MODS" section. In our example, the ID is 761535755. If you want to add multiple mods, separate them with a comma ,.
Step 3) After entering the mod ID, go back to the Console and start the server.
HOW TO ADD MODS (MANUAL METHOD)?
Step 1) Open Steam, right-click "ARK: Survival Evolved" > Manage > Browse Local Files. Navigate to: ShooterGame > Content > Mods.
Step 2) Inside the Mods directory you will find the .mod file and a folder with a random numerical sequence.
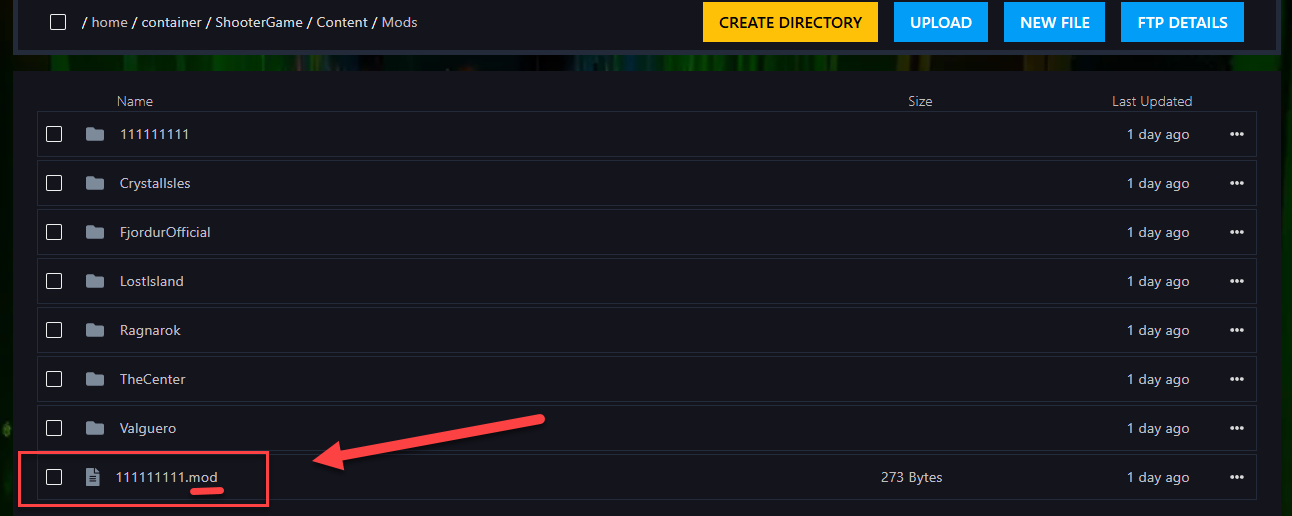
Create a .zip archive of the specific mod you want to add.
Note: The random numbers on the .mod file and the folder are the mod ID. You’ll need this number later to configure your server.
In our example, the name is 1111111111.mod.
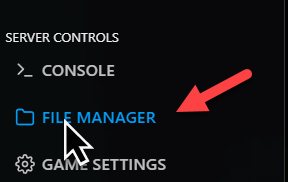
Step 3)Once your archive is ready, go to the Console and click File Manager from the left menu.
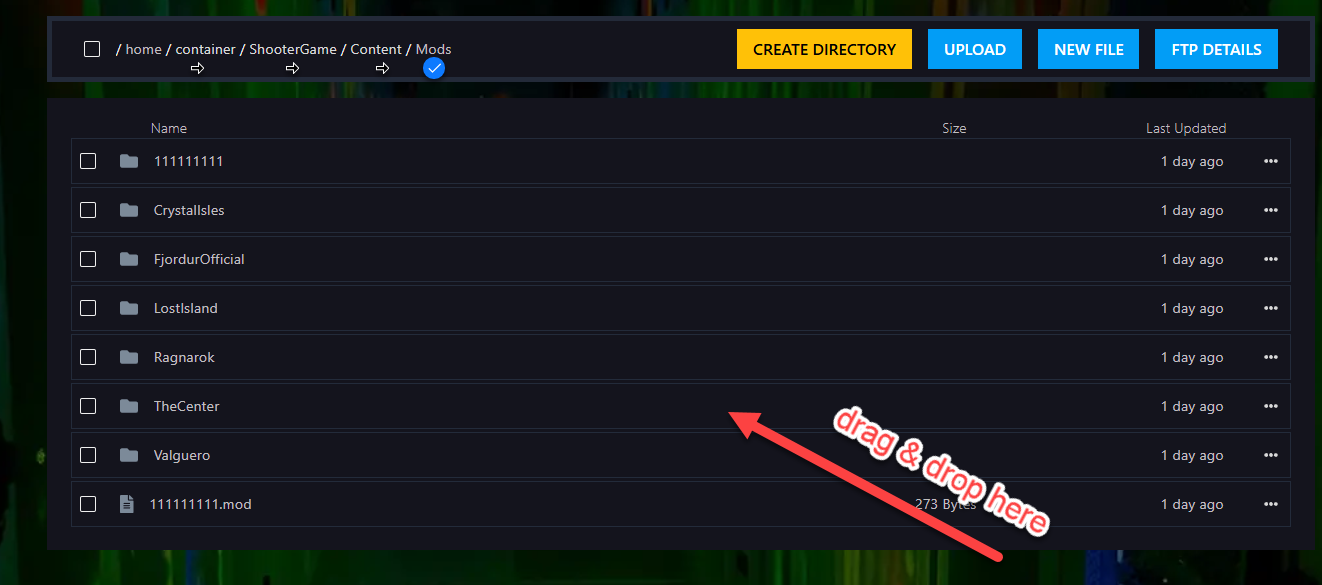
Navigate to: ShooterGame > Content > Mods

Upload the archive, then right-click it and Extract it.
Step 4) After uploading all the mods to the Mods directory on your server, return to the beginning of File Manager and go to: ShooterGame > Saved > Config > LinuxServer > open file "GameUserSettings.ini".

Step 5) Under "[ServerSettings]" add the following parameter: ActiveMods=
- After the = sign, paste the mod ID you uploaded. In our case, it would look like this:
ActiveMods=761535755

Note: If you want to add multiple mods, separate them with a comma , .
Example with multiple mods:
ActiveMods=761535755,574382345,293827123
Step 6) Once you've added the parameters > click "Save content".

Step 7) Go back to the Console and start the server.
Enjoy the game with your newly added mods!