HOW TO EDIT THE SETTINGS ON YOUR ARK SERVER?
What can I do by editing these settings?
The settings of your Ark server are where you can manually set up how the world operates. Here you can customize your server to enable a unique experience for you and your players.
The most common settings include:
- difficulty level
- taming/breeding rates
- resource spawn/harvest rates
- players’/dinos’ stats like health and stamina
- day and night cycles
- weather patterns
You can edit these settings in three different ways:
From GameUserSettings.ini
Method 1 - NEW MENU - USER SETTINGS
Method 2 - FROM FILE MANAGER - USER SETTINGS
NEW METHOD - NEW MENU - USER SETTINGS
Step 1) Go to your Console > click on your server and stop it using the "STOP" button.

Step 2) Navigate to the User Settings option from the menu on the left.
You will see a page containing the GameUserSettings.ini settings, with built-in fields for entering the values available for most of them. You can easily find your desired setting by using Ctrl + F and typing it in the search field.
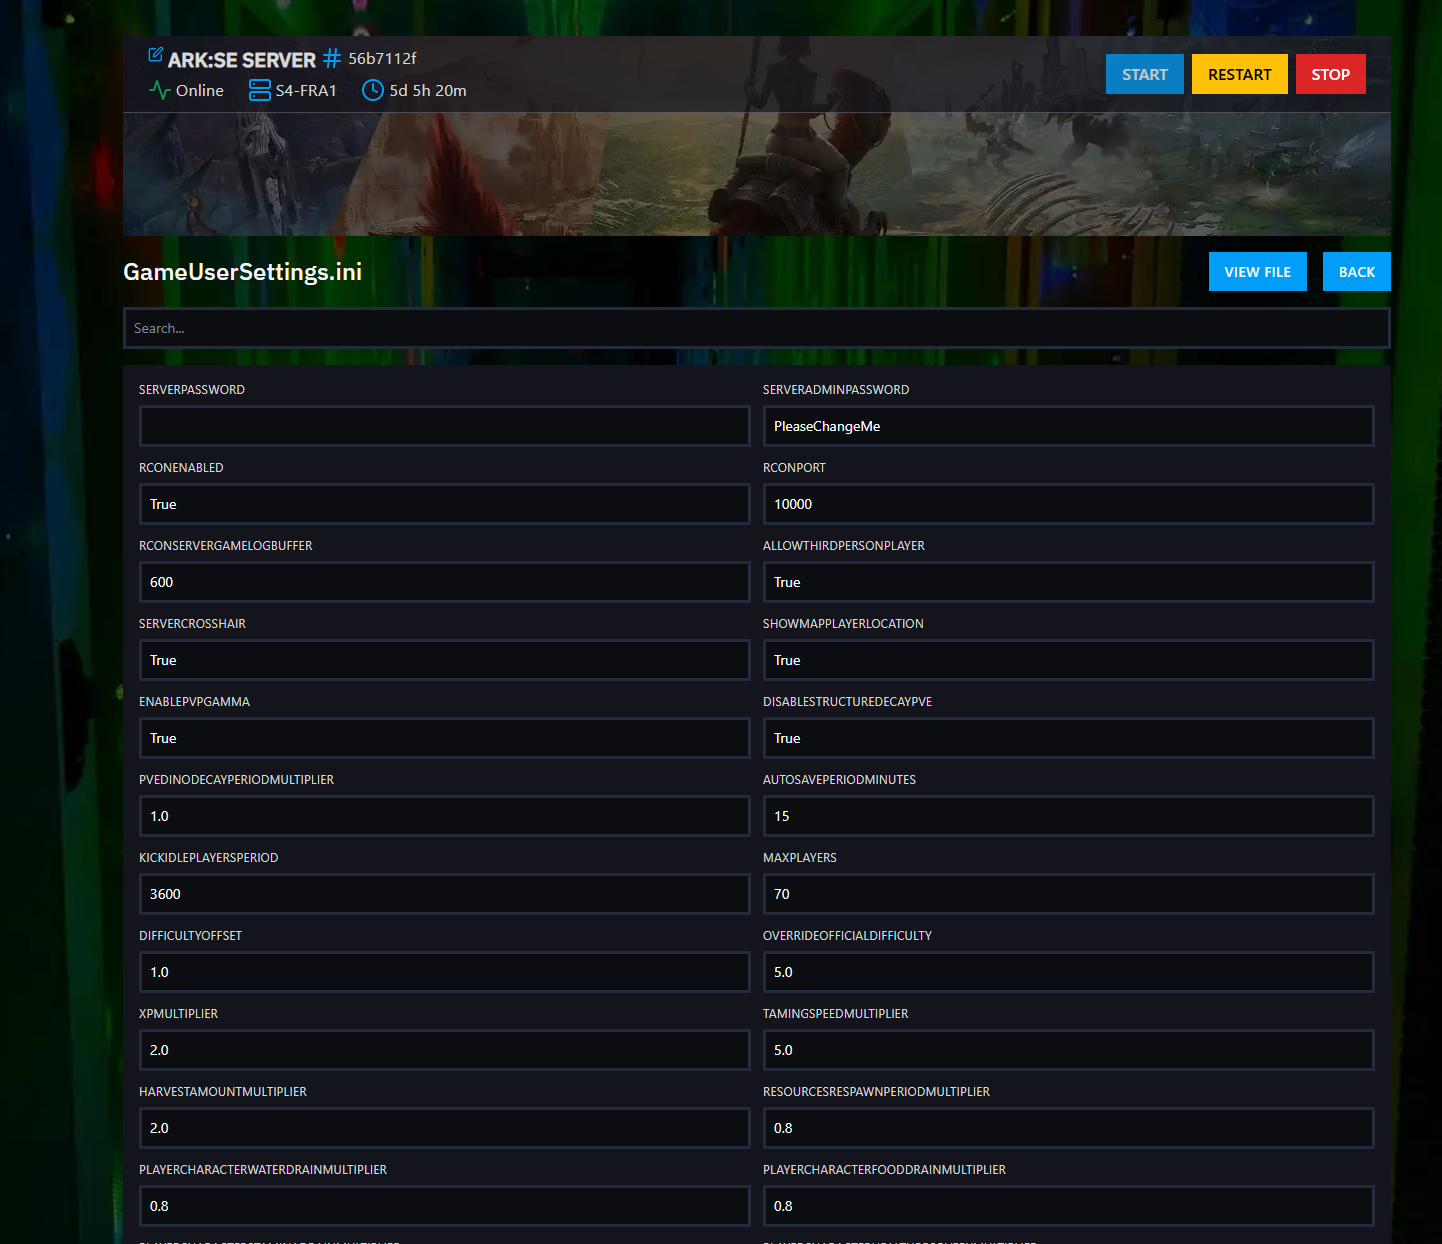
Option 2: In these pages, you can easily access the files by clicking the "View File" button located on the right side of the page above the settings menu. If you decide to use this option and modify through the file, then follow the rest of the tutorial with the OLD METHOD.
Step 3) After locating the field, type in the value of the field as you intend.

Step 4) Scroll to the bottom of the page and press the SAVE button at the bottom-right corner after you are done modifying.
Step 5) Go back to the Console and start the server again.
OLD METHOD - FILE MANAGER - USER SETTINGS
Step 1) Go to your Console > click on your server and stop it using the "STOP" button. Once your server is stopped, go to the "FILE MANAGER", which you’ll find in the menu on the left under "SERVER CONTROLS".

Step 2) Navigate to ShooterGame > Saved > Config > LinuxServer > open the GameUserSettings.ini file, and you will see a text editor.

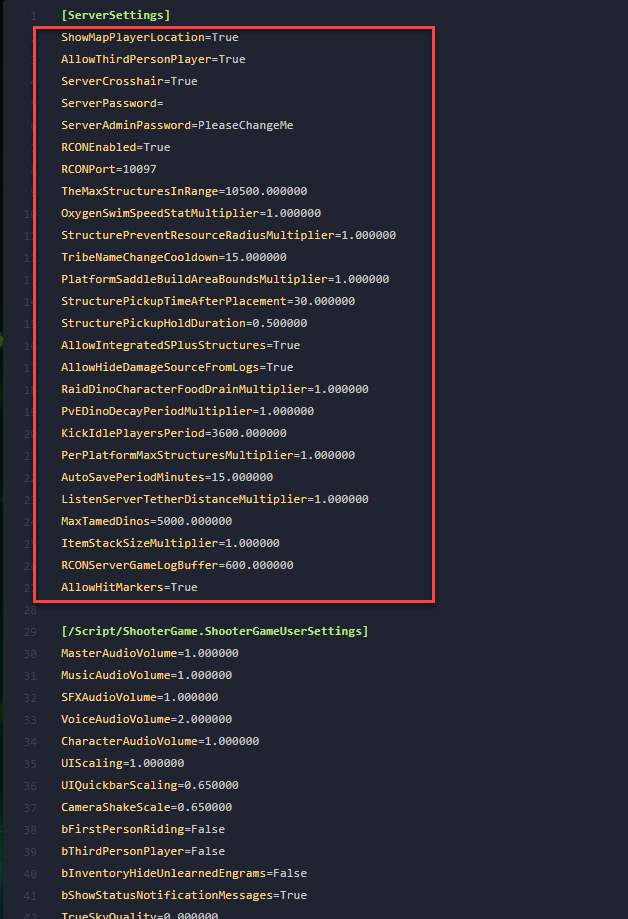
Step 3) Inside this text editor, you will see the [ServerSettings] section. Under the [ServerSettings] section, you will see your already present settings parameters, and you can edit them as you desire.
NOTE: You can find additional info on the different settings for GameUserSettings.ini HERE.
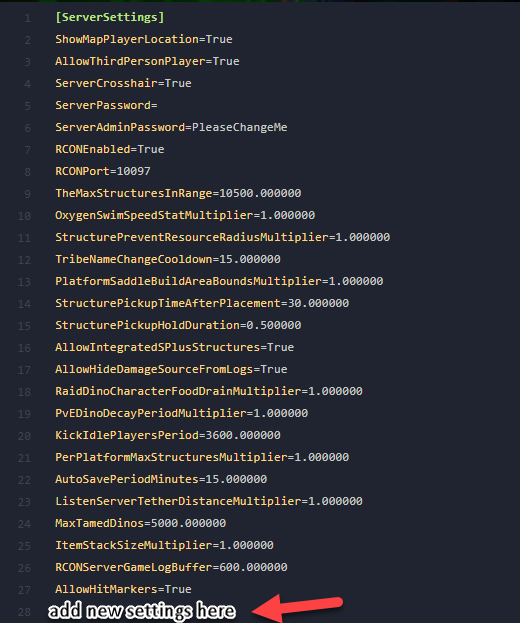
Step 4) You will be entering your custom settings parameters under the [ServerSettings] section on separate lines.
Step 5) After you are done modifying your settings click the Save Content button.

Step 6) Go back to the Console and start the server again.
Congrats, your server has new settings.
From Game.ini
Method 1 - NEW MENU - GAME SETTINGS
Method 2 - FROM FILE MANAGER - GAME SETTINGS
NEW METHOD - NEW MENU - GAME SETTINGS
Step 1) Go to your Console > click on your server and stop it using the "STOP" button.
Step 2) Navigate to the Game Settings option from the menu on the left.
You will see a page containing the Game.ini settings, with built-in fields for entering the values available for most of them. You can easily find your desired setting by using Ctrl + F and typing it in the search field.
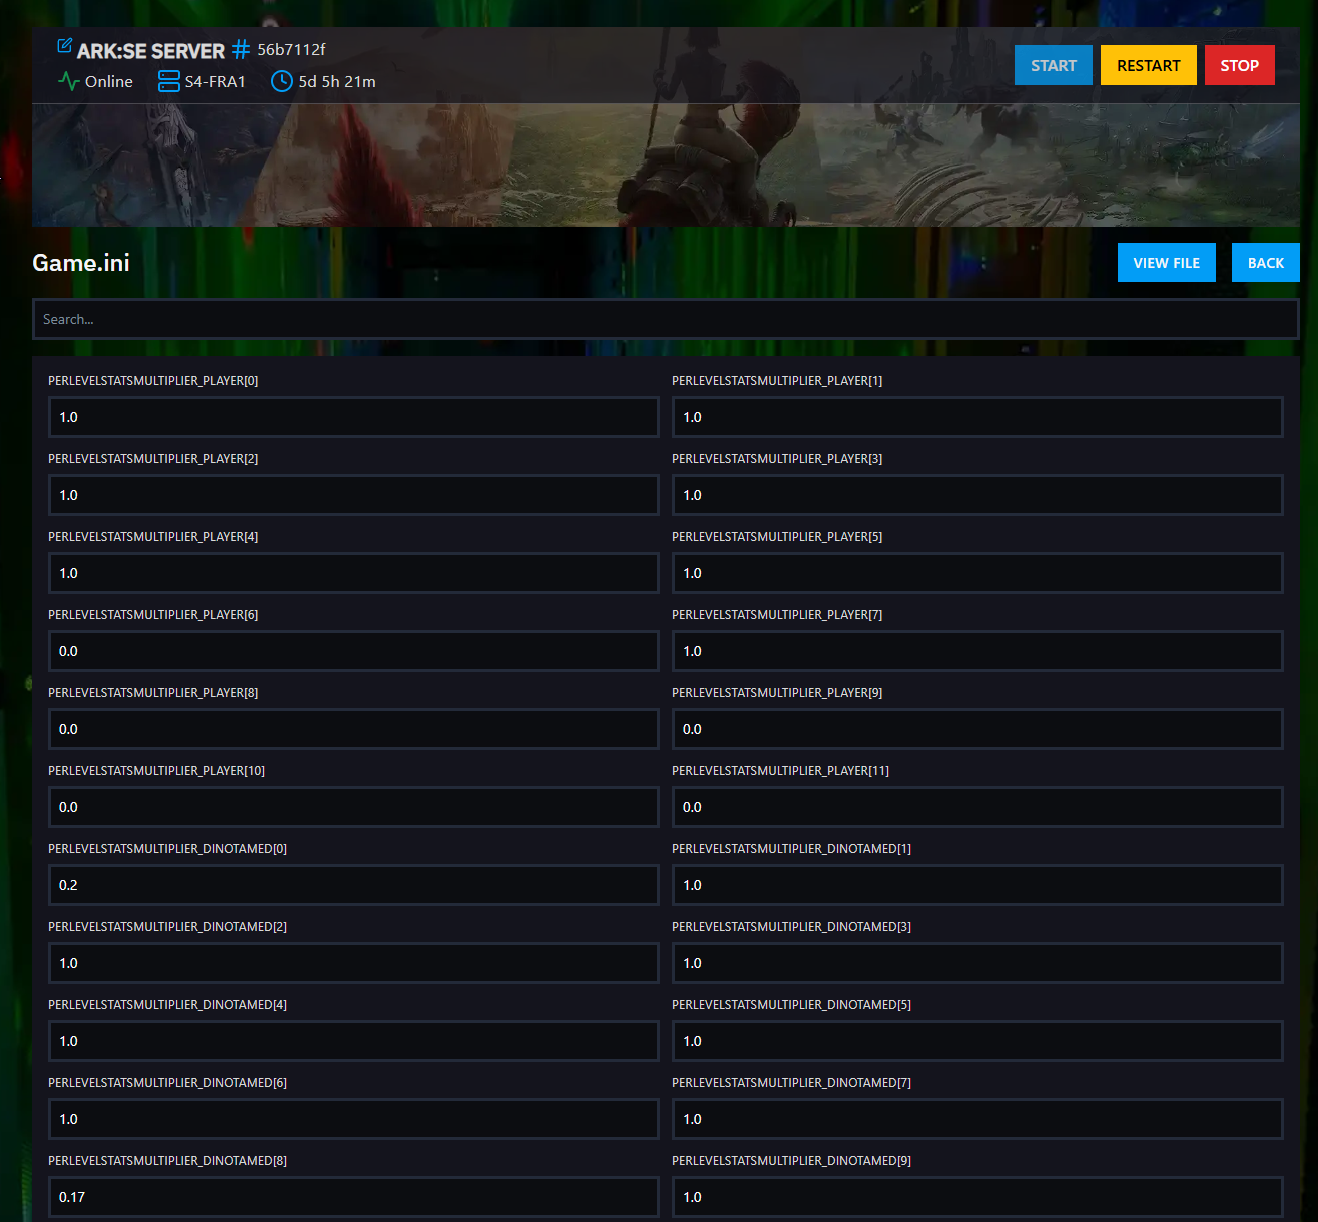
Option 2: In these pages, you can easily access the files by clicking the "View File" button located on the right side of the page above the settings menu. If you decide to use this option and modify through the file, then follow the rest of the tutorial with the OLD METHOD.
Step 3) After locating the field, type in the value of the field as you intend.
Step 4) Scroll to the bottom of the page and press the SAVE button at the bottom-right corner after you are done modifying.
Step 5) Go back to the Console and start the server again.
OLD METHOD - FILE MANAGER - GAME SETTINGS
Step 1) Go to your Console > click on your server and stop it using the "STOP" button. Once your server is stopped, go to the "FILE MANAGER", which you’ll find in the menu on the left under "SERVER CONTROLS".
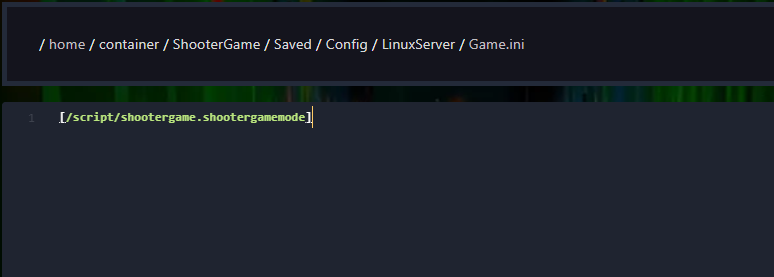
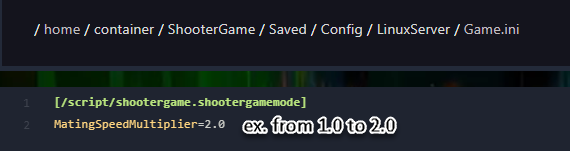
Step 2) Navigate to ShooterGame > Saved > Config > LinuxServer > open the Game.ini file, and you will see a text editor.
![]()
Step 3) If the text editor is empty, add the following text on the first line: [/script/shootergame.shootergamemode]
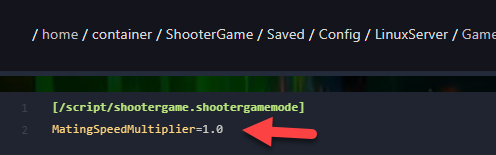
- Under the [/script/shootergame.shootergamemode] line, add your desired custom settings following the same example as in the GameUserSettings.ini section.
NOTE: You can find different settings for Game.ini HERE.
- Otherwise under the [/script/shootergame.shootergamemode] section you will see the parameters of your already present settings and you can edit them as you desire following the same example as in the GameUserSettings.ini section.
Step 4) After you are done modifying your settings click the Save Content button.
Step 5) Go back to the Console and start the server again.
Enjoy your server's new settings.
From the Command Line
Step 1) Go to your Console > click on your server and stop it using the "STOP" button.

Step 2) Once your server is stopped, go to "SETTINGS".

There you’ll find a field called "ADDITIONAL ARGUMENTS" located on the bottom right of the page.
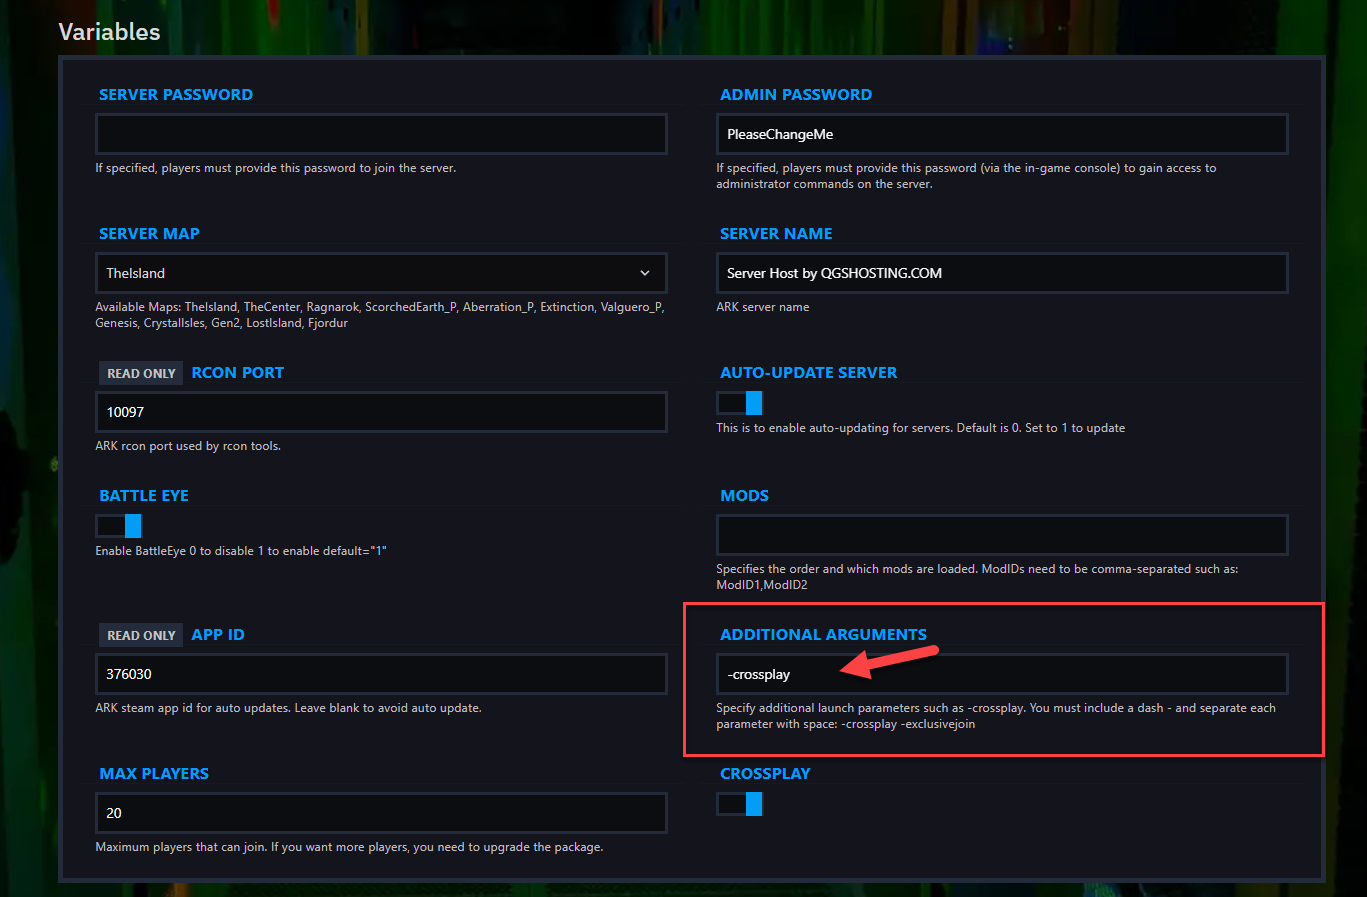
In this field, you can add the settings that match the ' - ' syntax. (Ex. -crossplay)
NOTE: You can find settings, instructions and examples with the syntax HERE.
Step 3) Go back to the Console and start the server again.
Enjoy your new settings!