HOW TO TURN ON THE ALLIANCE SETTINGS FOR YOUR ARK SERVER?
Method 1 - NEW MENU - GAME SETTINGS
Method 2 - FROM FILE MANAGER - GAME SETTINGS
NEW METHOD - NEW MENU
Step 1) Go to your Console > click on your server and stop it using the "STOP" button.

Step 2) Navigate to the Game Settings option from the menu on the left.

You will see a page containing the Game.ini settings, with built-in fields for entering the values available for most of them.
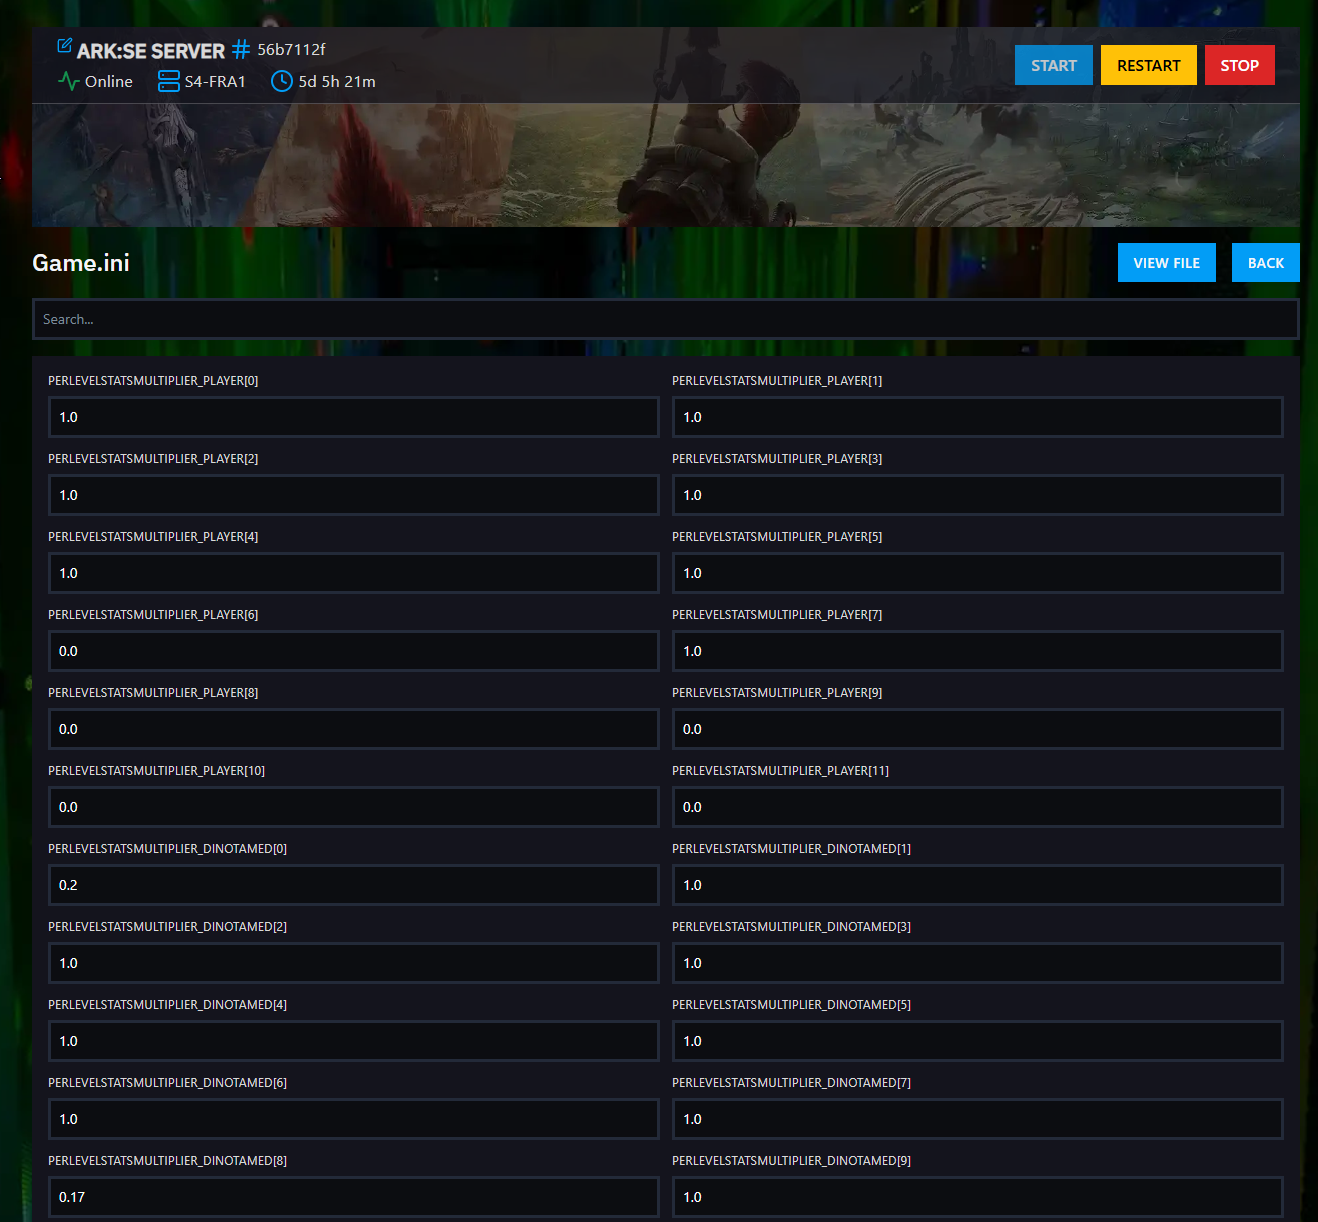
Step 3) To access this setting, click the "View File" button located on the right side of the page above the settings menu.
Step 4) After opening the file. Add these settings on new lines if not present: MaxAlliancesPerTribe=5 and MaxTribesPerAlliance=5

Step 5) After you are done modifying your settings, click the Save Content button.

Step 6) Navigate to the GameUserSettings.ini option from the menu on the left under the Game.ini option.

You will see a page containing the GameUserSettings.ini settings, with built-in fields for entering the values available for most of them.
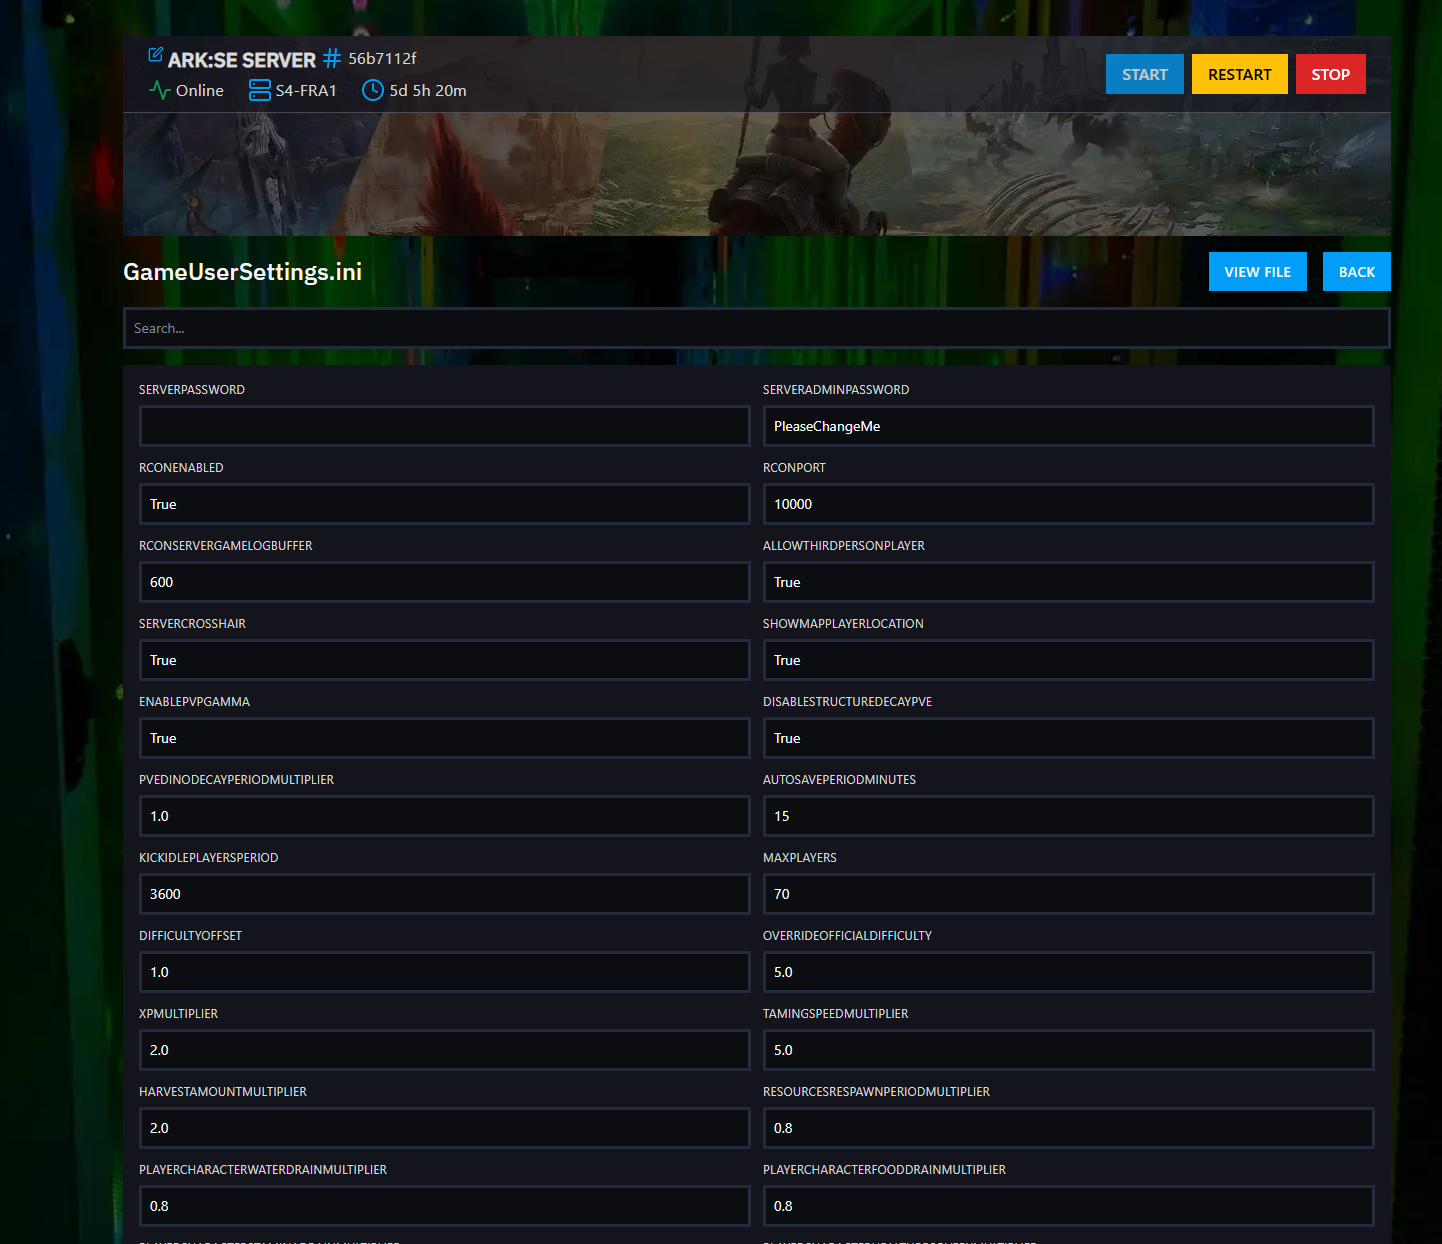
Step 7) Press Ctrl + F and type in the field "PreventOfflinePvP" to locate the setting faster.

After locating the field, type in the field's value as False.


Step 8) Scroll to the bottom of the page and press the SAVE button at the bottom-right corner.
Step 9) Go back to the Console and start the server again.

OLD METHOD - FILE MANAGER - GAME SETTINGS
Step 1) Go to your Console > click on your server and stop it using the "STOP" button. Once your server is stopped, go to the "FILE MANAGER", which you’ll find in the menu on the left under "SERVER CONTROLS".

Step 2) Navigate to ShooterGame > Saved > Config > LinuxServer > open the GameUserSettings.ini file and you will see a text editor.

Step 3) Inside this text editor, you will see the [ServerSettings] section.
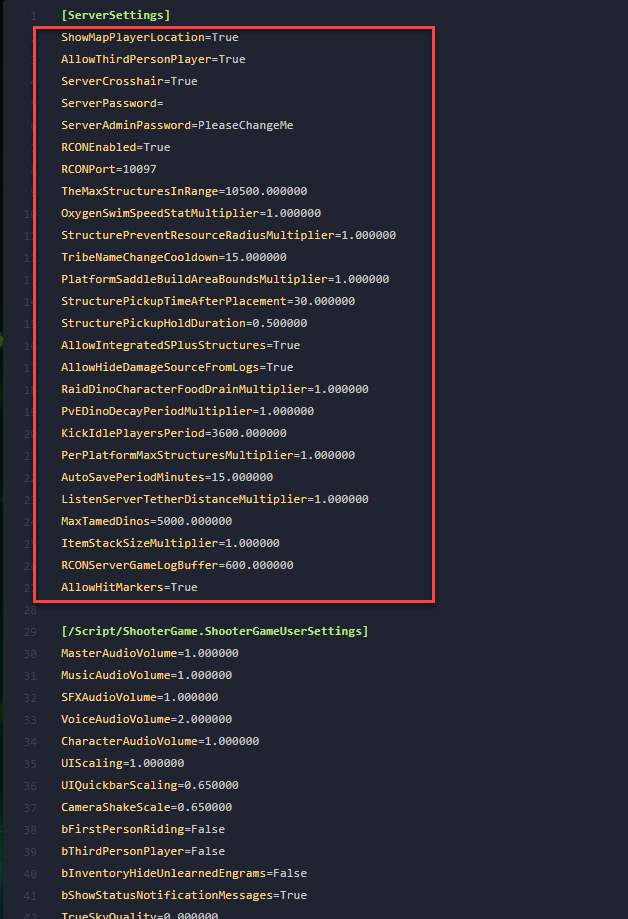
Step 4) Adjust or add the parameters PreventOfflinePvP=False and PreventTribeAlliances=False on new lines under the [ServerSettings] section

Step 5) After you are done modifying your settings click the Save Content button.
Step 6) Navigate to ShooterGame > Saved > Config > LinuxServer > open the Game.ini file and you will see a text editor.
![]()
Step 7) If the text editor is empty, add the following text on the first line: [/script/shootergame.shootergamemode]
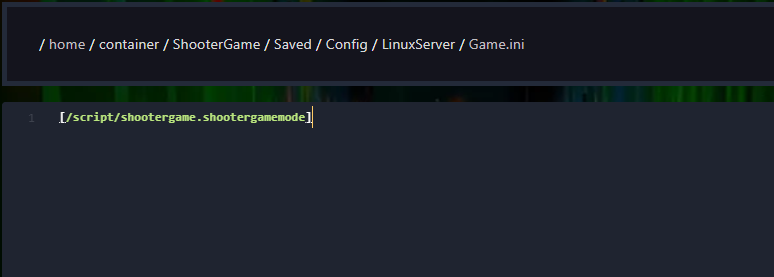
Under the [/script/shootergame.shootergamemode] line, аdjust the following settings, or add them if not present: MaxAlliancesPerTribe=5 and MaxTribesPerAlliance=5

Step 8) After you are done modifying your settings click the Save Content button.
Step 9) Go back to the Console and start the server again.
Congratulations! Your alliance settings are now adjusted.